Consolidation Set-Up
Set up consolidation once for the group, then use its shared structure whenever you run a consolidated report. The work happens in the FinBoard dashboard; it does not change a member company’s QuickBooks chart of accounts.
Before you start
- Connect every QuickBooks Online company you intend to include. Only connected companies can be added to a group.
- Decide which companies belong together and which reporting currency the group should use.
- Gather the accounts each company uses, especially accounts with transactions. Member companies can have different charts of accounts; the mapping is where you translate them to the group structure.
- Identify intercompany accounts and agree on the elimination treatment with the person responsible for the close. Eliminations need configuration and review; they are not inferred automatically.
1. Create the group company
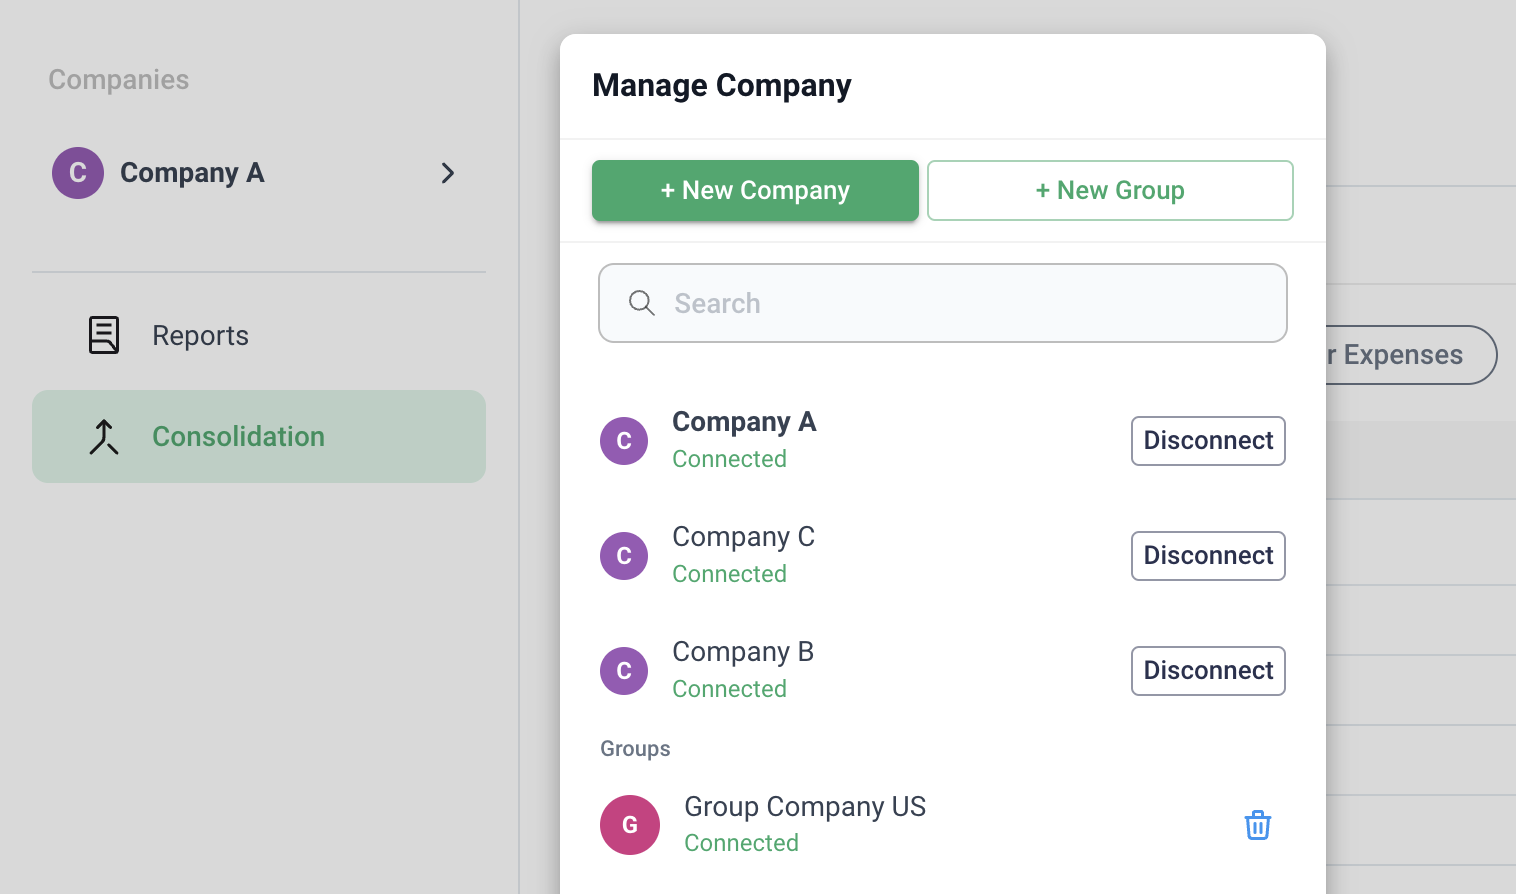
- In the FinBoard dashboard, open the Company dropdown.
- Select + New Group.
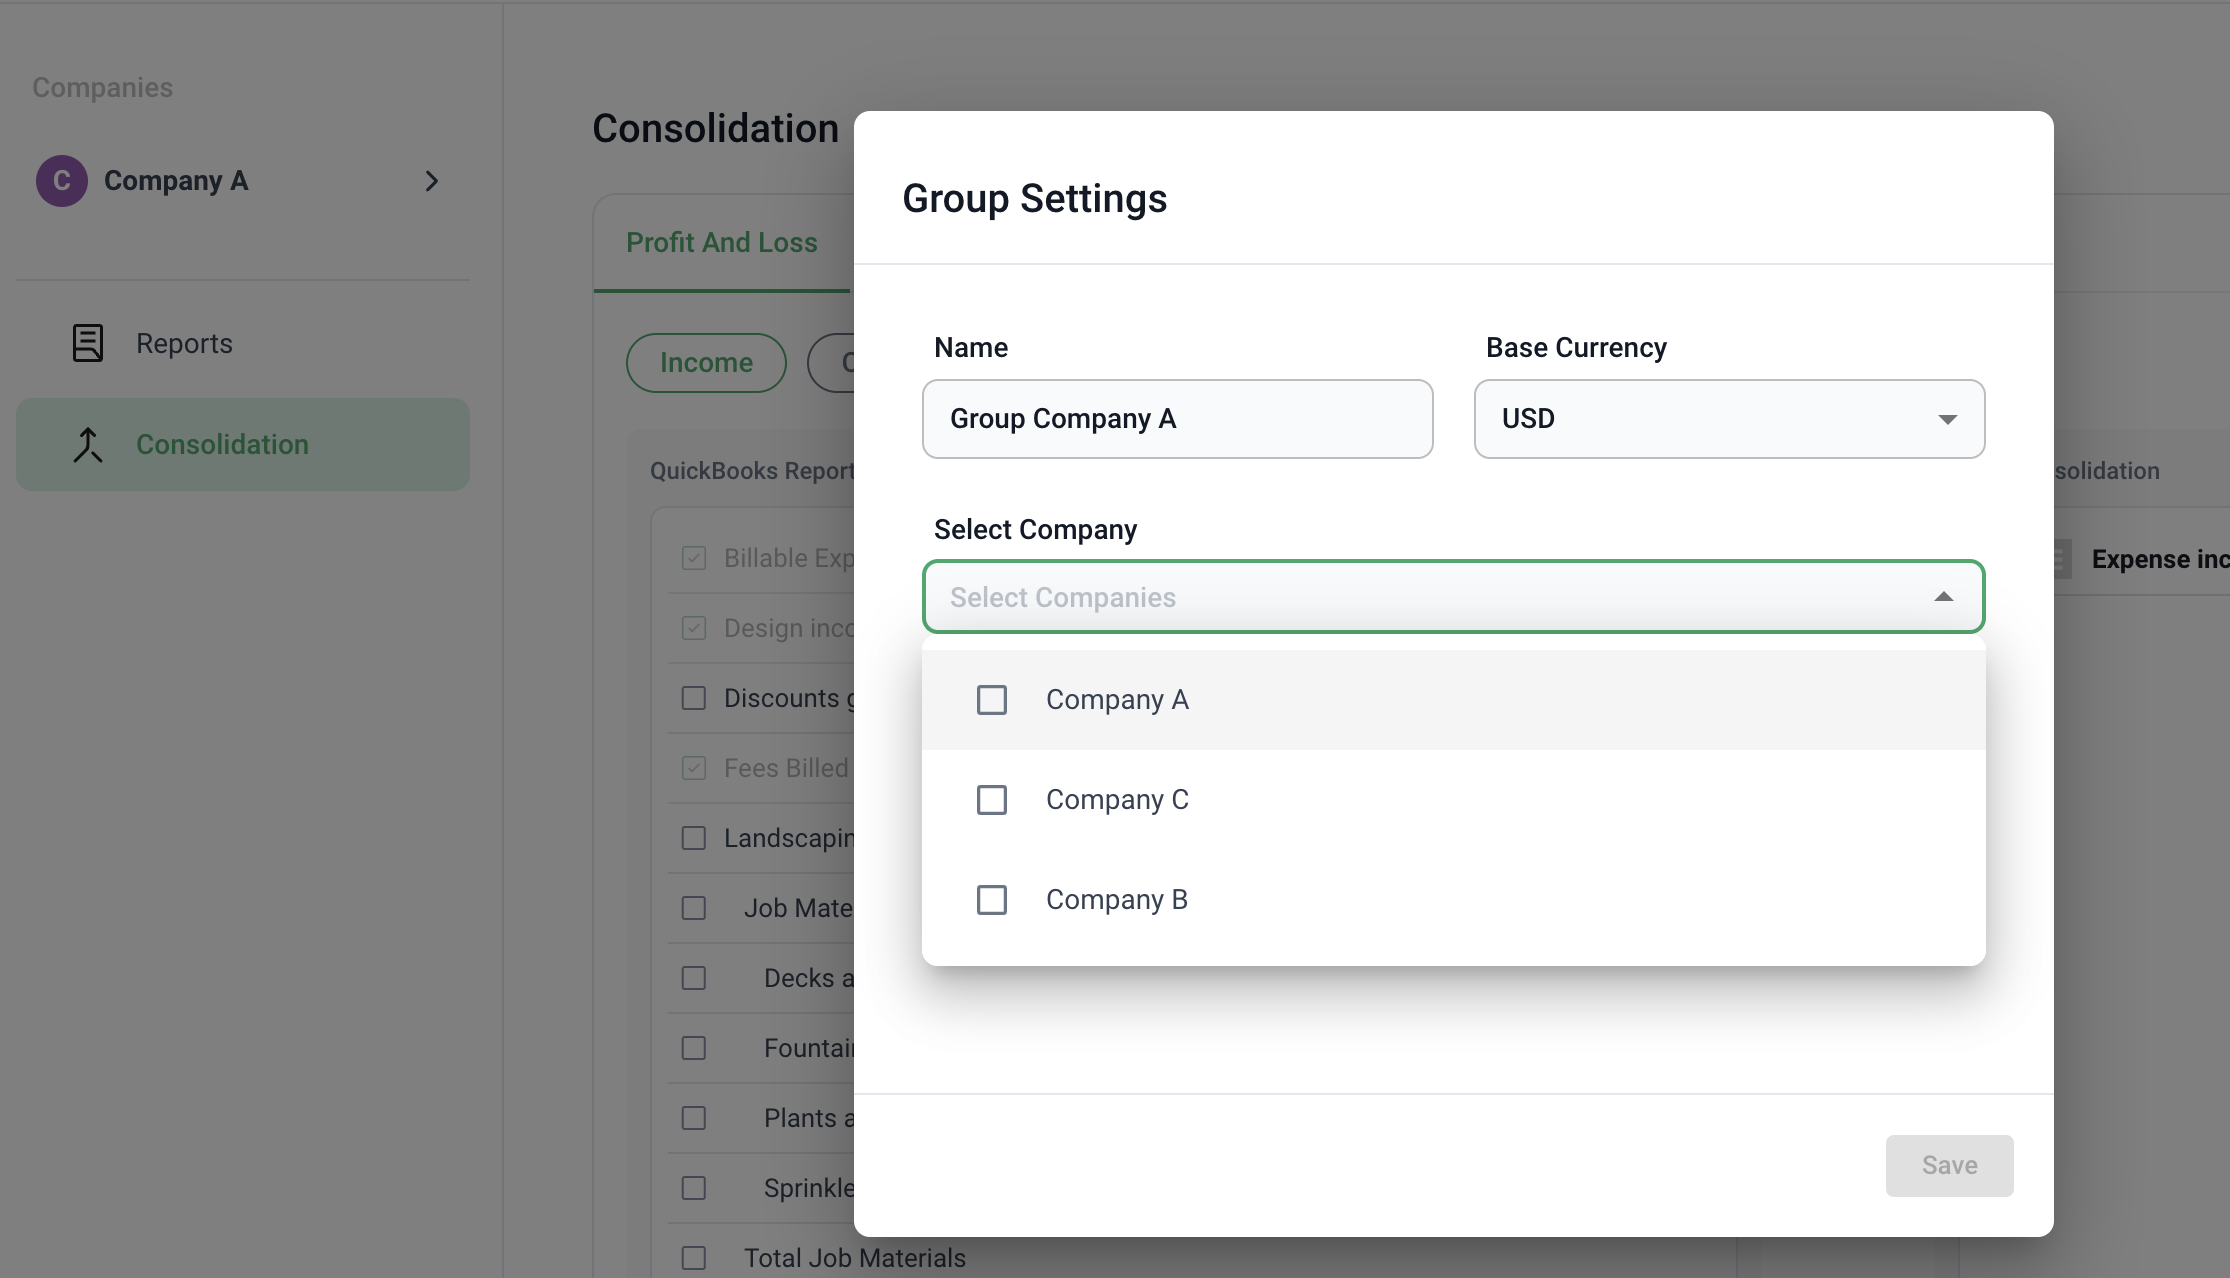
- Enter the group’s details, including the reporting currency.
- Select the connected companies that belong to the group.
- Save, then select the new group from the Company dropdown.
2. Build the shared structure
With the group selected, open Consolidation. On Consolidated Accounts, use the Report selector to work through Profit and Loss, Balance Sheet, and Cash Flow.
Create the groups and hierarchy that the consolidated statements should use. Use + or New Account to add groups, drag to reorder or nest them, and rename them for the people who will read the reports. If the group needs more than one presentation, choose Create new from the Mapping selector and give the mapping a descriptive name such as Board Meeting or Management Review.
3. Map each company’s accounts
Open Entity Accounts. For every member company, point each QuickBooks account to the appropriate group in the shared structure. Use the Entity filter to review one company at a time and With transactions to focus on active accounts.
All accounts with transactions must be mapped before you rely on the consolidated report. Use All mapped to check for unassigned accounts, including accounts recently added in QuickBooks. An unmapped account can leave a consolidated line incomplete.
This is how companies with different charts of accounts consolidate: translate each company’s accounts into the shared structure first, then sum the translated values. Mapping changes presentation only; it does not alter the source books.
Keep the polarity boundary intact while building the mapping. Income and Other Income can be grouped within the positive-polarity structure. Cost of Goods Sold, Expenses, and Other Expenses can be grouped within the negative-polarity structure. Do not combine income and expense accounts on one ordinary mapped line; use a spreadsheet formula or FinBoard-configured KPI for a measure that crosses those sections.
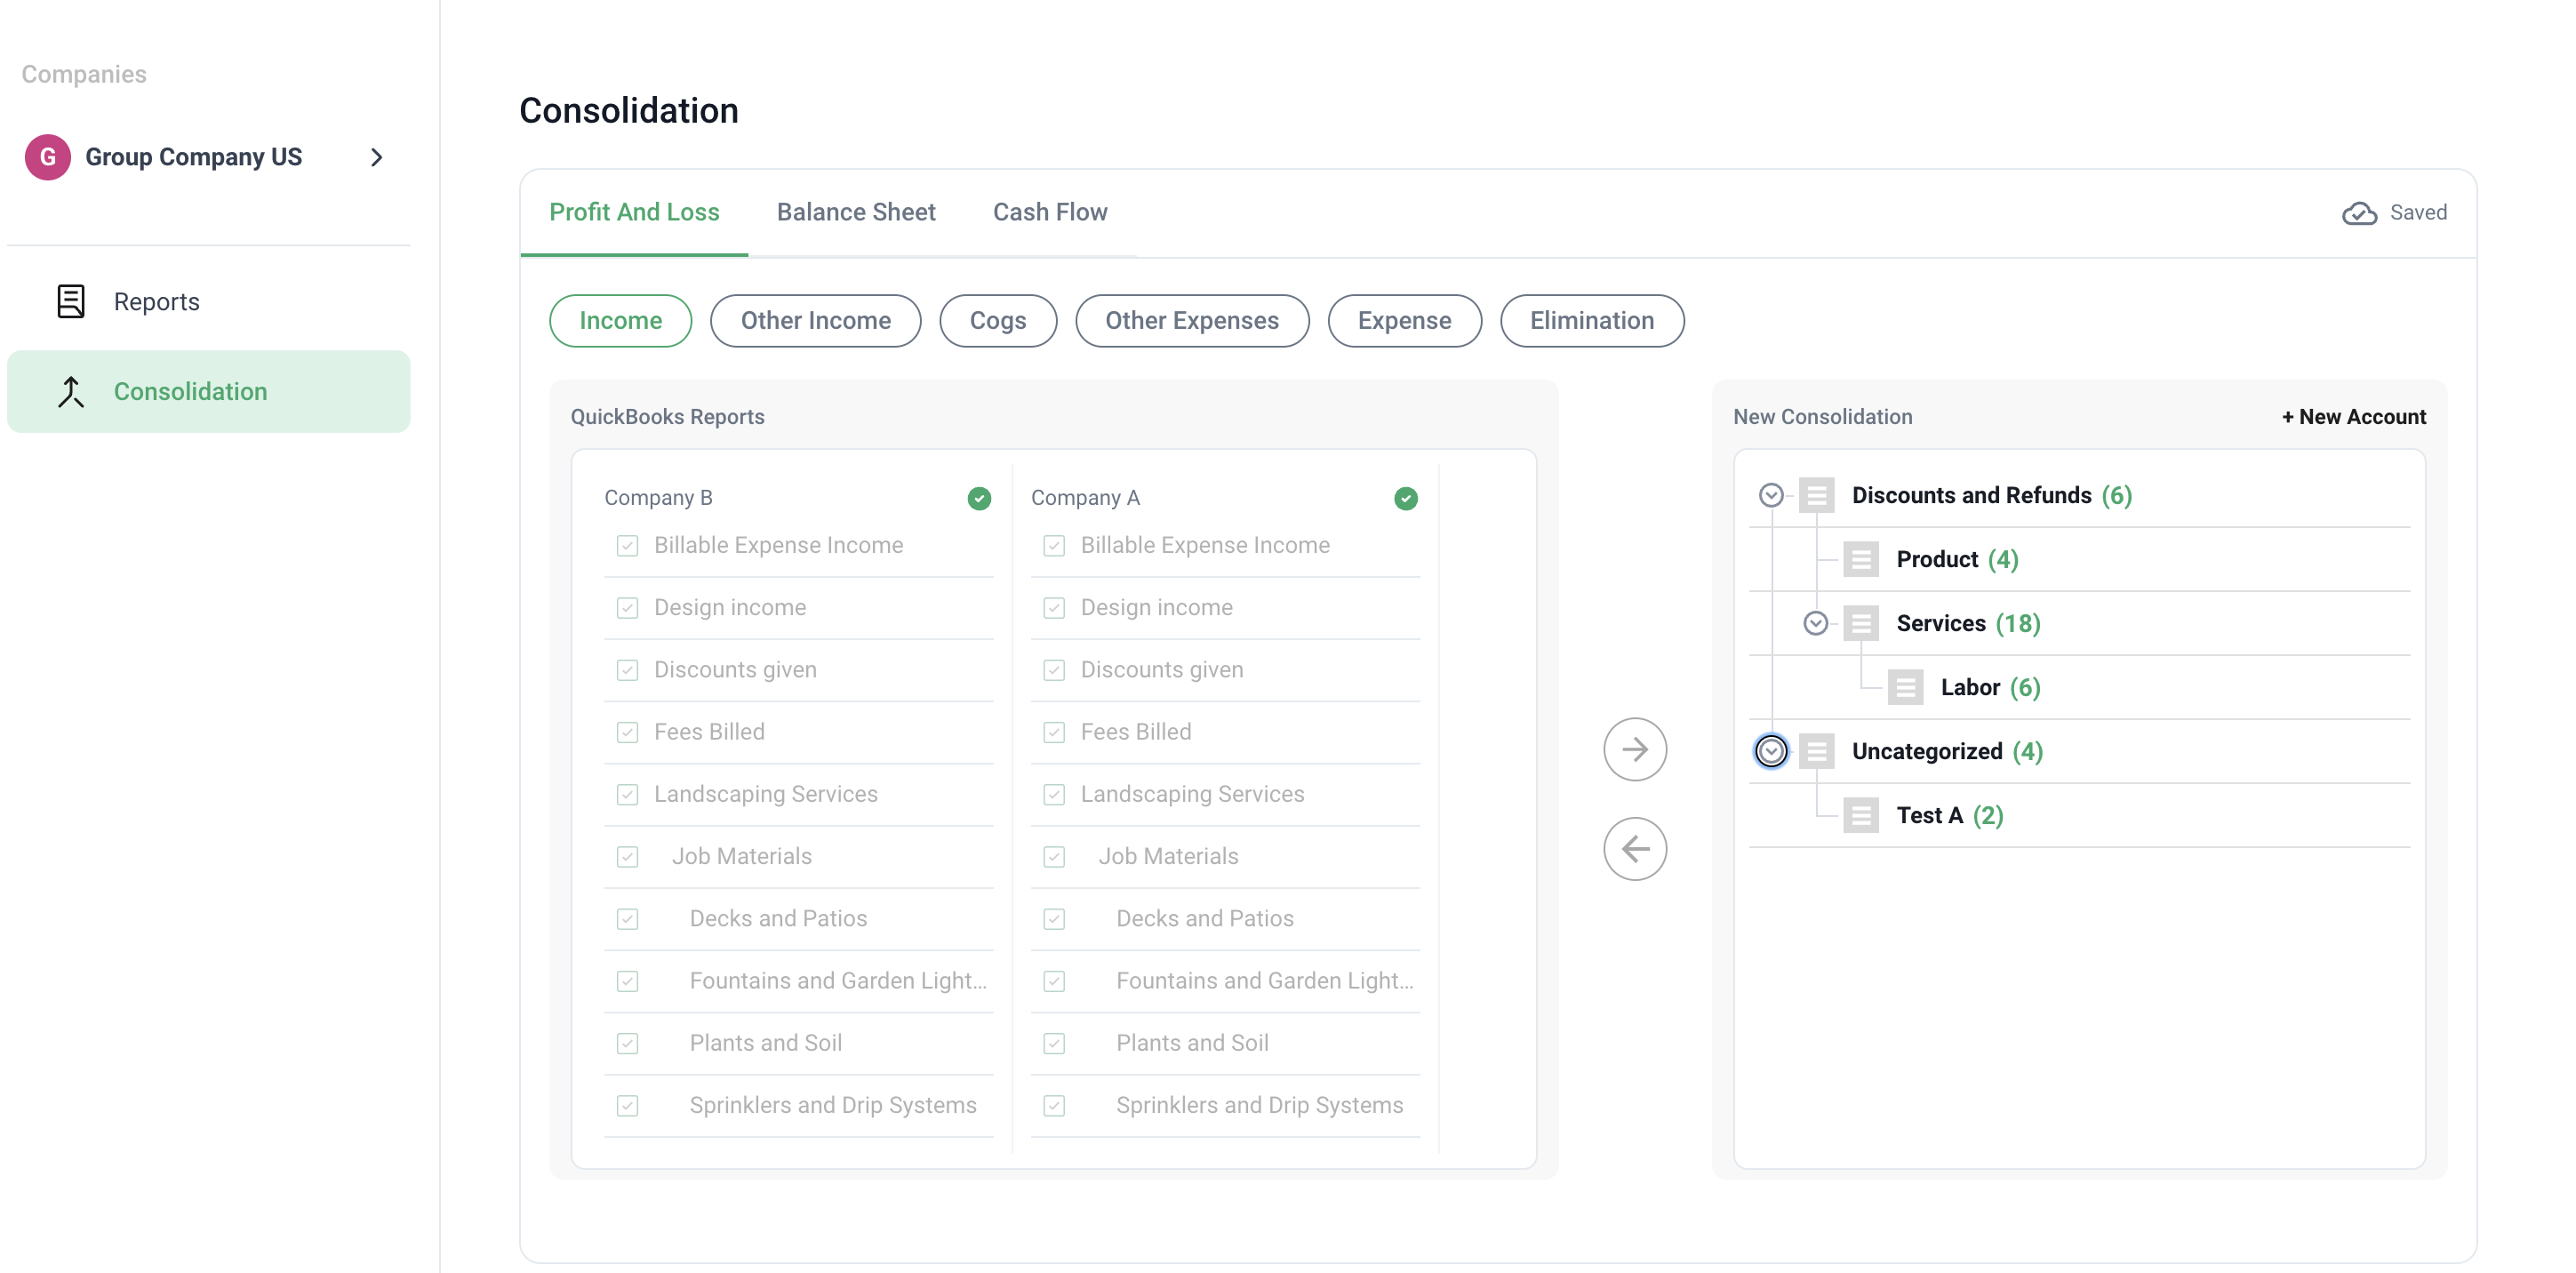
For the detailed mapping controls, see Regroup Accounts.
4. Configure eliminations
Use the Eliminate control for accounts that carry intercompany activity, according to the elimination treatment agreed for the group. Configure the applicable accounts, then review the effect for the period before using elimination in a live statement.
Do not treat this as a substitute for reconciliation. The configuration tells FinBoard which mapped accounts to remove from the consolidated total; your close review confirms that the selected accounts and amounts are appropriate.
5. Review before reporting
Before creating a consolidated report, confirm:
- The correct member companies are in the group.
- The shared structure is complete for each report type you plan to run.
- Every account with transactions is mapped in the named mapping you will use.
- Any currency conversion and elimination treatment has been reviewed for the period.
Then follow Run consolidated reports to create the statement in Google Sheets. For group budget setup, see Consolidated budgets.